

Construction, RC Frame
Grouting in Structural Concrete — How We Deliver Void-Free Tendon Ducts & Rock-Solid Connections
Nov
What is structural grouting?
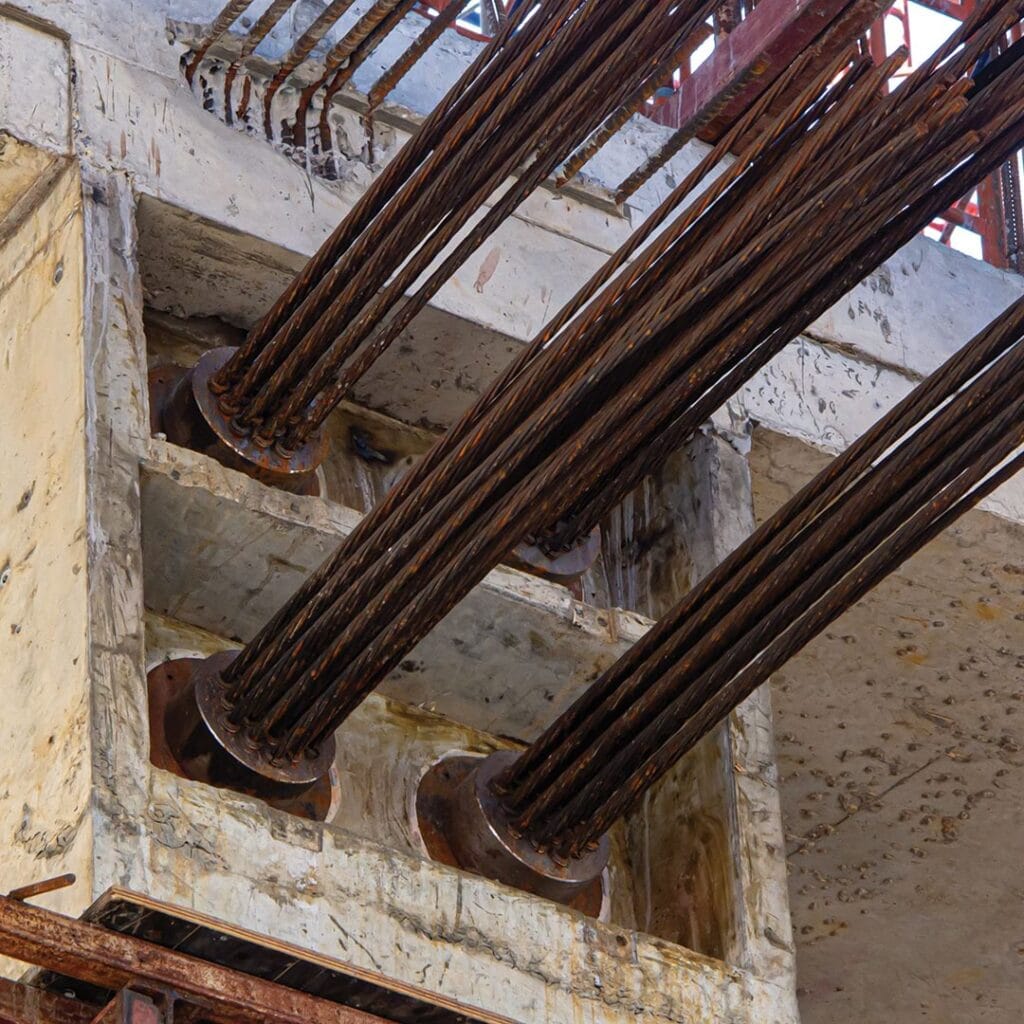
Structural grouting is the placement of a high-flow, non-segregating material to fill designed voids or bond elements: PT tendon ducts, starter bars and anchors, machine bases and bearing pads, under-plate levelling and void filling. For PT work, grout protects strands from corrosion and turns the duct into a composite, load-sharing element once it cures.
Materials & equipment
For PT ducts we specify high-performance injection grout mixed in a dedicated grout mixer/pump to achieve consistent flow with a controlled water/cement ratio. Technical sheets in the referenced method statement describe a proprietary high-performance injection (HPI) grout designed for stressed tendons, highlighting consistency, bleed resistance and strength development suitable for PT systems. (See the technical data pages showing product description, application guidance and performance tables.)
Our step-by-step method (PT walls & cores)
Below is the grouting sequence we follow for transfer walls/cores—summarised from a PT wall method statement and adapted to our London workflows:
- Prepare & inspect
Patch anchorages, check ducts/vents, pressure-test lines, and complete pre-pour checklists. Pressure must be controlled to avoid segregation during injection. - Start at the anchorage end
Begin injection from the anchorage. When continuous outflow appears at vents, close them in the direction of flow. Maintain stable working pressure for ~30–60 seconds after clean grout appears to expel residual water/air, then proceed to the next vent. - Complete each tendon, then record
Repeat the vent-by-vent sequence until the tendon is full. Record pressures, volumes and vent closures on a grouting report form (template included in the method statement’s Appendix A). - Aftercare
Leave hoses for 24 hours, then cut off flush to the slab/wall face. If an interruption exceeds ~1 hour, flush the system with water and compressed air before resuming—this prevents partial sets and blockages.
QA/QC you can audit
- Cube testing & strength — The method statement details compressive strength testing on 50×50×50 mm cubes, de-moulded at ~24 hours and tested at 7 and 28 days, giving objective evidence the grout hit spec.
- Site records — We issue grouting reports for every tendon (pressures, volumes, pass/fail notes), with sign-offs by our supervisor and the Engineer.
- Consistency controls — Dedicated mixers/pumps, controlled water addition, and continuous vent management prevent voids and bleed.
Safety, access & risk controls
Our crews operate under a documented Health, Safety & Environmental plan covering access, plant checks, manual handling, PPE (helmets, gloves, boots, eye/dust protection), emergency procedures (fire/first-aid, incident reporting) and handling of cementitious materials. Risk assessments in the method statement flag common hazards (equipment failure, restricted access, contact with materials) and the required controls.
Common failure modes—and how we prevent them
- Air pockets/voids: Eliminated by vent-to-vent progression and holding pressure 30–60 s after clean outflow.
- Segregation/bleed: Avoided by using the right mixer/pump, controlling pressure and water content.
- Blocked ducts or interruptions: Managed with immediate flushing protocols if stoppages exceed ~1 hour.
How we deliver: For London PT cores/walls or precision baseplate works, we bring the method statement, pre-start QA, on-site testing, and close-out records as a single package—so your Building Control file and O&M manuals are watertight.