

Residential Groundworks
Anti-Termite Treatment (When Specified by Client): What It Is, When You Need It, and How We Deliver It
Nov
When is Anti-Termite Treatment Required?
- Pre-construction: before blinding, raft/strip foundations, and boundary walls are cast or backfilled.
- Hardscape interfaces: beneath interlocking tiles/pavers, patios, thresholds, and service penetrations.
- Client or spec driven: included in the employer’s requirements or consultant’s method statement.
Our Method (What We Actually Do On Site)
We follow a documented method statement and QA process that sets out scope, safety, application phases, and inspection hold points. The exemplar method statement specifies treatment below foundations, behind masonry, and under interlocking tiles, with staged application and sign-offs. (See Contents & Scope on pp. 3–5 of the method statement.)
Safety First
- Trained operatives wearing gloves/long sleeves and eye protection.
- No skin/eye contact; no eating or smoking during application.
- Product stored, mixed, and disposed per manufacturer guidance. (See Safety & Health Measures, p. 4.)
Materials & Mix
- Termiticide: e.g., “Agenda” (Bayer) as referenced in the method statement.
- Typical mix: 1 L of concentrate diluted with 200 L water (supplier note), applied to achieve the specified coverage rate. (See attachments/letters, pp. 8 & 16.)
Application Phases (Staged Delivery)
- Phase A – Foundations
- Prepare and compact the soil; remove debris.
- Low-pressure spray the prepared surface before polyethylene (DPM) and blinding.
- Coverage: apply at approximately 4.5 L/m² to create a continuous treated zone.
- Immediately proceed with blinding/DPM to lock in the barrier and prevent wash-off. (See p. 4 and supplier detail pp. 8 & 16.)
- Phase B – Boundary Walls
- Excavate a 30–50 cm deep trench along the wall line.
- Treat trench sides and bottom to ~4.5 L/m², backfill/compact, and waterproof within 24 hours as per spec. (See p. 5.)
- Phase C – Under Interlocking Tiles / Pavers
- Treat the bedding layer footprint and margins prior to laying tiles.
- Keep continuity around edges, steps, thresholds, and service penetrations. (See p. 5.)
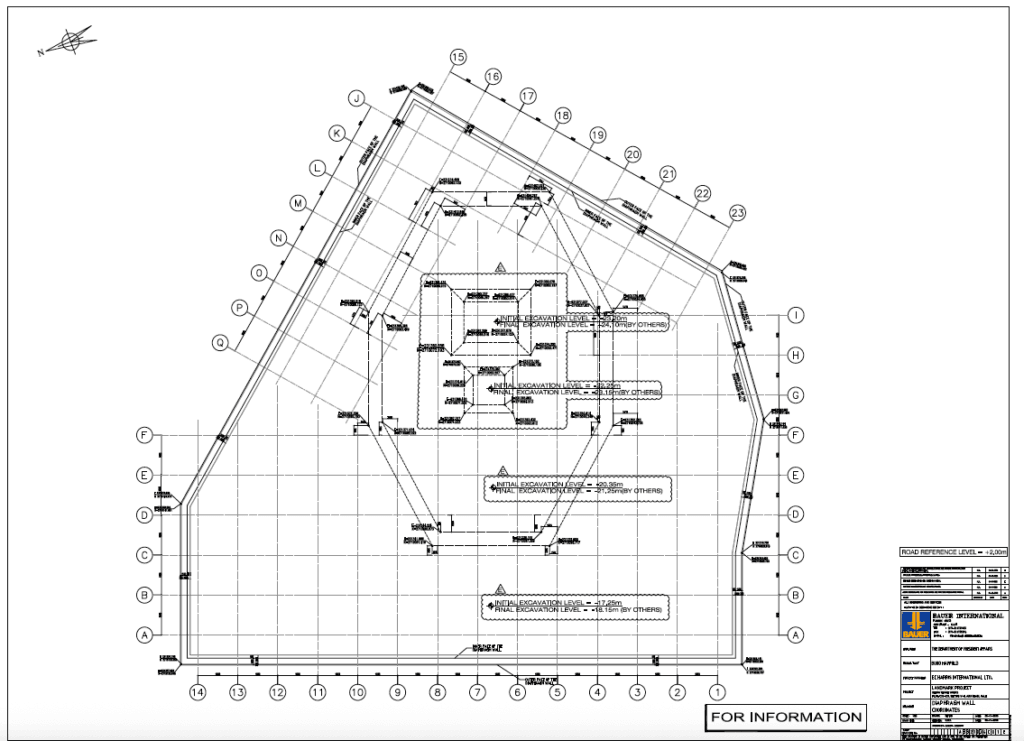
The method statement also includes a section detail (Section 2-2) illustrating the treated levels around substructure elements—useful for site briefings and QA photos. (See pp. 9 & 17.)
Quality Control You Can Audit
- Hold points: treatment witnessed by QC Engineer/Site Engineer with checklists and photographs.
- Batch & rate verification: record mix ratios, area treated, and litres applied to each zone.
- Close-out: compile manufacturer data sheets, method statement, and supplier certificate/letter. (See Quality Control, p. 5, and supplier guarantee letter on pp. 8 & 16.)
FAQs
How long does it last?
Service life depends on soil conditions and UV exposure; correct coverage, immediate covering (blinding/DPM), and waterproofing extend longevity.
Is it safe?
When handled and applied per method statement (PPE, mixing, disposal) and then sealed beneath slabs/walls, exposure is minimal.
Can we treat existing buildings?
Yes—retrofit trenching and drill-and-inject are possible, but pre-construction soil treatment provides the most uniform barrier.
What You’ll See In Our Deliverables
- Marked-up plans showing treated zones (foundations, walls, tile beds).
- Daily treatment logs (area, litres, mix, operatives, weather).
- Photo evidence at each stage and signed QA checklists.
- Manufacturer documentation and supplier confirmation of method and mix.
Why Clients Specify It
Because it’s significantly cheaper to prevent termite ingress at groundworks stage than to remediate structural and finishes damage later. A methodised approach—correct rates (≈ 4.5 L/m²), timing (before blinding/backfill), and closure (membranes within 24 hours)—is what turns a chemical into a reliable engineering control. (See pp. 4–5, 8 & 16.)
Ready to Include Anti-Termite Treatment in Your Package?
We can price it as an add-on to foundations, boundary walls, and hardscape works, with full QA and documentation suitable for consultant/client sign-off.